Lift Your Home Cooking: Mysteries From HMD Bar And Grill’s Kitchen

Published on: 28 August 2023 Last Updated on: 31 August 2024
Home Cooking

Have you ever wondered how restaurants are able to churn out amazing dish after dish that tastes like it was prepared by a culinary master? The secret is out – professional chefs have tricks up their sleeves that take cooking to the next level. At HMD Bar & Grill, the team works hard behind the scenes using expert techniques and methods to create memorable meals for customers.

Take a look at the kitchen masters who shared their cooking secrets with us: hmdbarandgrill.com.

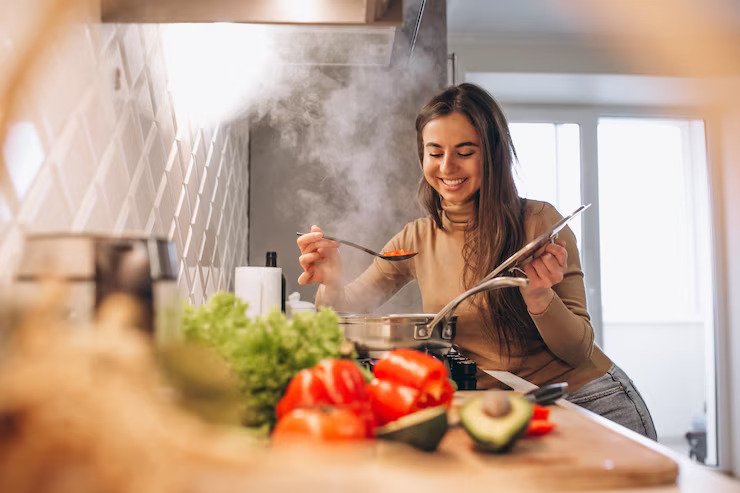
In this series, you’ll get an exclusive backstage pass into the kitchen to unlock mysteries behind popular ingredients, explore useful cooking hacks, and pick up skills that will inspire you to become a home cooking hero. Your friends and family won’t believe the dishes you’re able to whip up after learning the pro tips and secrets in these articles. Get ready to lift your home cooking game to new heights!

Secrets from the Professional Kitchen

Marinate meats for maximum flavor

Chefs marinate proteins like steak, chicken, and fish for at least 24 hours to infuse them with complex flavors. Try a tangy citrus marinade, an herbaceous chimichurri, or an Asian-inspired mixture of soy sauce, rice wine, and spices.

Sear, then finish in the oven

For extra tender and juicy meats with a crisp exterior, our chefs first sear cuts of meat on the stovetop in a hot pan with oil. Then they finish cooking the meat in a moderate oven. This works great for thick pork chops, beef roasts, and whole chickens.

Add umami boosters

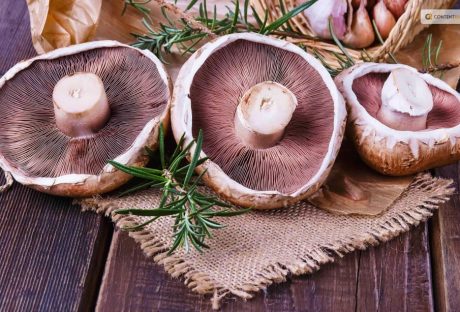
Ingredients like soy sauce, miso, Parmesan cheese, sun-dried tomatoes, and mushrooms enhance the savory umami flavor of dishes. Chefs incorporate umami boosters into sauces, rubs, and marinades to create bold, crave-worthy flavor.

Finish with fresh herbs

A sprinkle of just-chopped parsley, cilantro, basil or mint adds a burst of freshness and vibrant color. HMD chefs garnish many of their dishes with fresh chopped herbs right before serving. This simple step makes a big impact on flavor and presentation.

A touch of sweetness

Chefs know that a bit of sugar or fruit can enhance savory and spicy flavors. They’ll add a spoonful of molasses or honey to barbeque sauces, a diced mango to salsa, or a bit of maple syrup to a mustard glaze. Just a touch of sweetness is all you need.

Cooking and Presentation Secrets

To make your home cooking shine like the pros at HMD Bar & Grill, it’s all about technique and presentation.

First, master the art of seasoning. Taste as you go and season gradually until flavors pop. For extra flavor boosts, use fresh herbs, citrus zest, or chili peppers. Balancing sweet and savory, spicy and tangy is key.

With proteins like steak, chicken, or fish, brush on flavorful sauces or crusts before cooking and garnish artfully after. For example, brush grilled shrimp with garlic herb butter and garnish with lemon wedges and fresh parsley.

Elevate side dishes with special touches too. Toss roasted or steamed veggies in browned butter, toasted nuts or breadcrumbs. Or top mashed potatoes with crispy shallots, chives, and cheese.

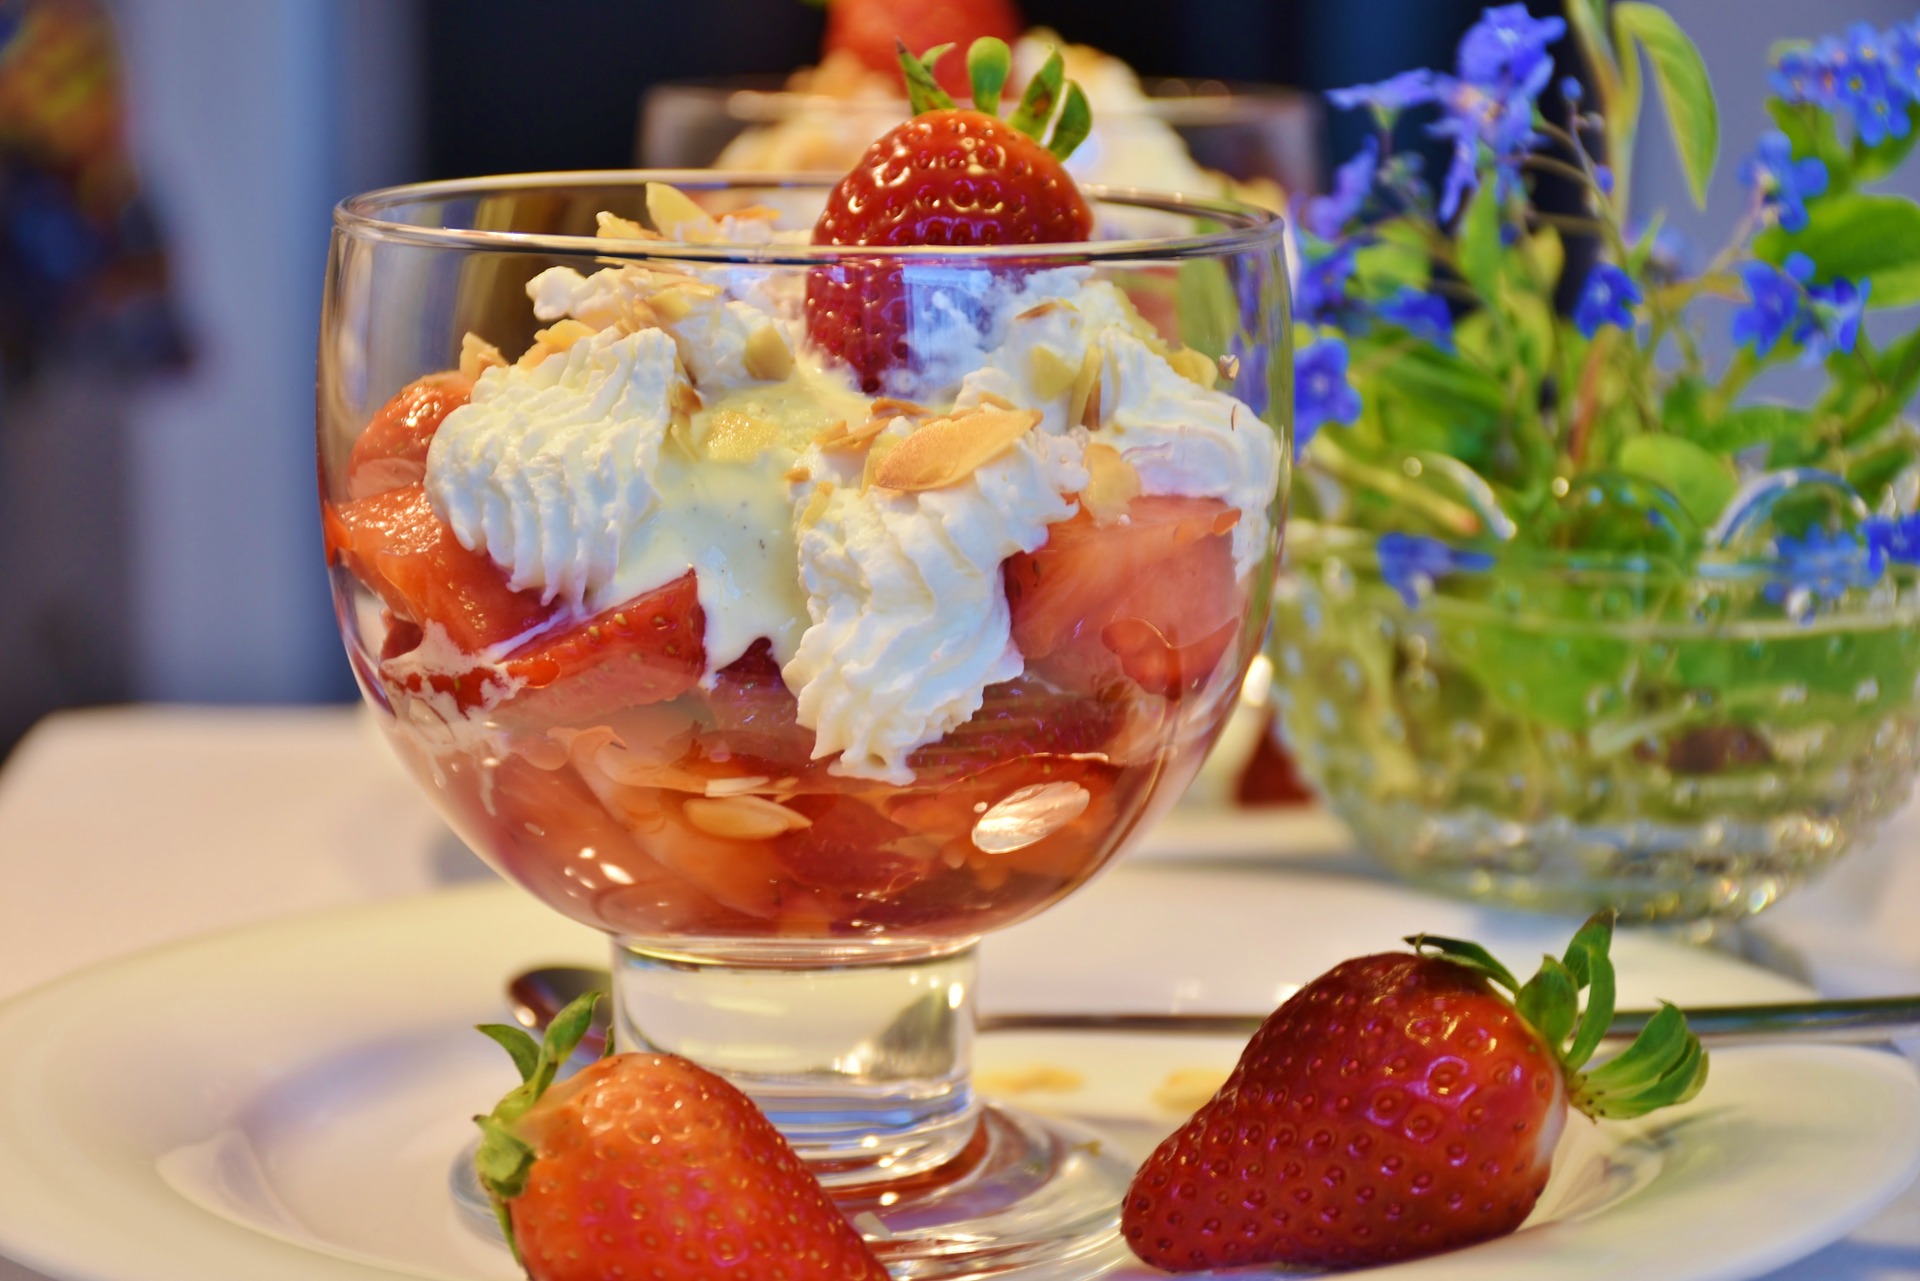
For desserts, focus on height, color, and texture. Layer cakes, stack cookies, or get creative with toppings like crushed candies, chocolate shavings, or whipped cream.

With professional techniques and artful presentation, your home cooking will become a masterpiece. Dive into the mysteries of flavor balancing and garnishing to make every bite as stunning as the food at HMD Bar & Grill. Your guests will think you have a secret culinary double life!

Insights into HMD Bar & Grill’s Kitchen

Practice Mindfulness

1. Ingredient selection

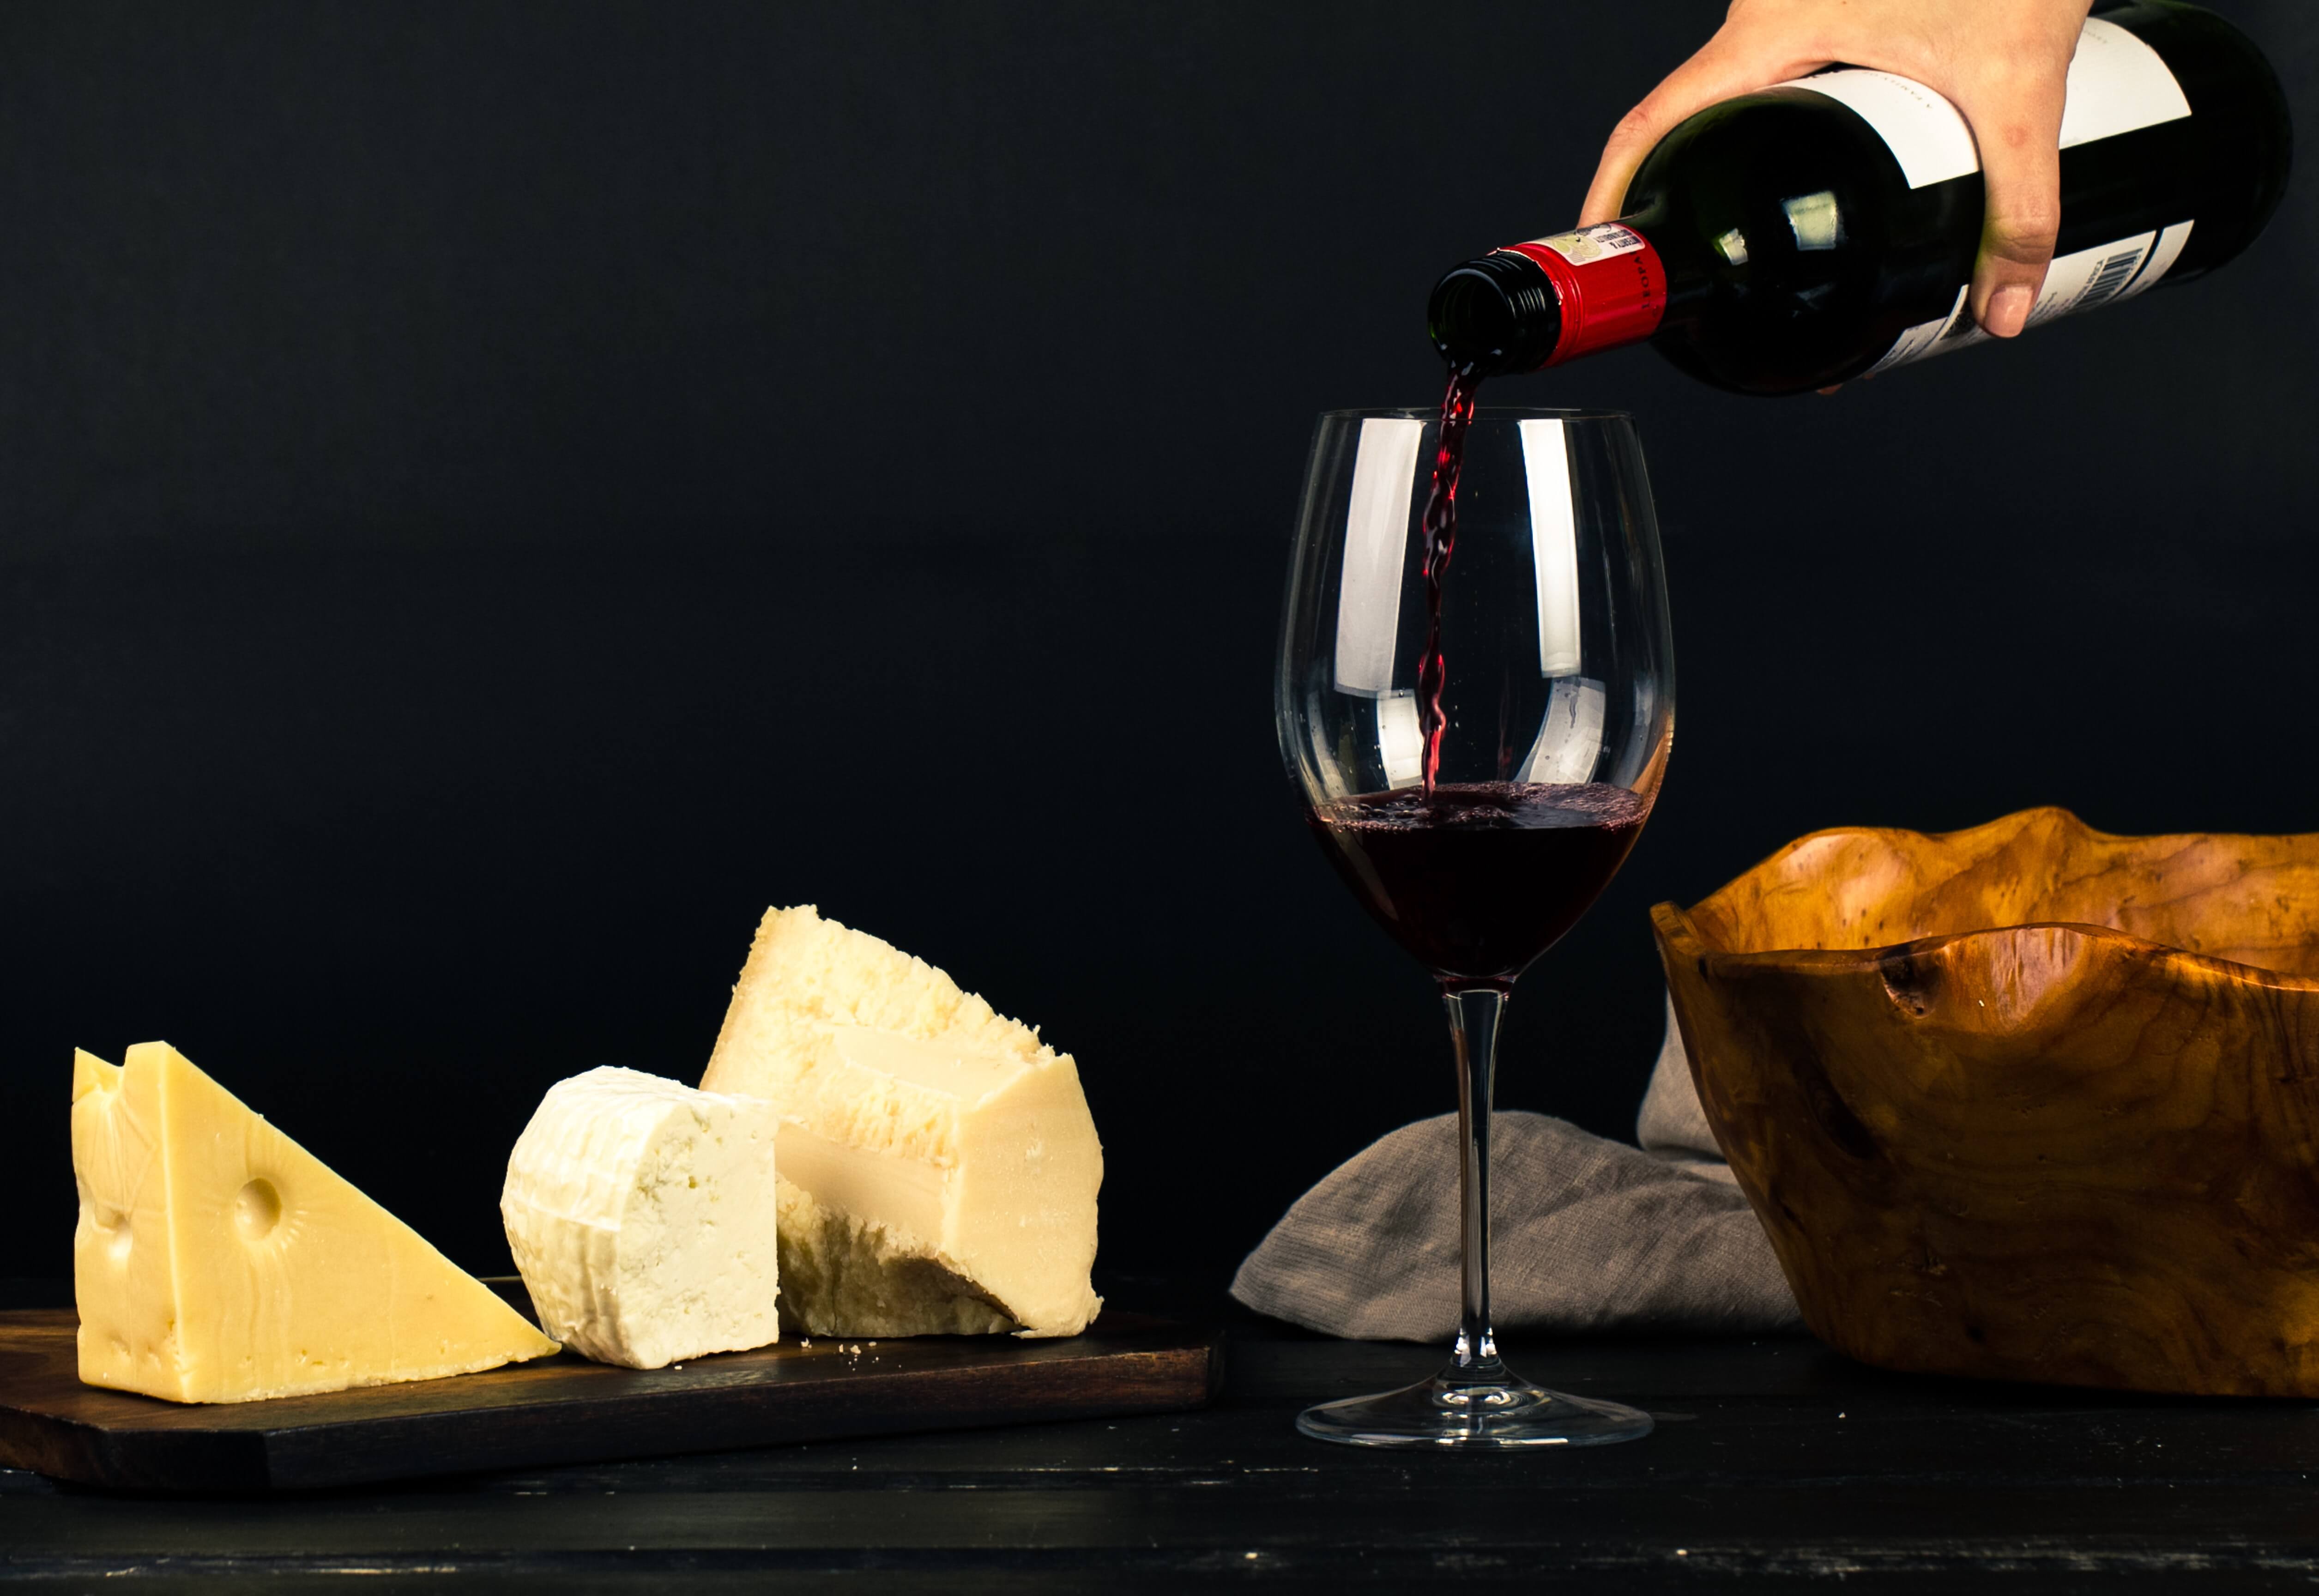
The quality of ingredients is key. HMD chefs handpick the freshest produce, sustainably sourced meats and seafood, and artisanal cheeses from local providers. At home, choose organic and in-season whenever possible. Premium ingredients make a world of difference in flavor and texture.

2. Balancing flavors

A dish should have a balance of flavors – sweet, salty, bitter, sour, and umami (savory). HMD chefs carefully calibrate flavors in each dish. For example, a sweet glaze might balance a bitter vegetable, or a tangy citrus pair nicely with a rich cut of meat. Think about how you can achieve flavor balance and contrast in your own cooking. A squeeze of lemon or lime juice is an easy way to brighten up and balance the flavor of many savory dishes.

3. Presentation

How a dish looks is just as important as how it tastes. Here chefs artfully arrange each component on the plate to make an attractive presentation. At home, pay attention to color, texture, and negative space on the plate. A sprinkle of chopped herbs, a swipe of sauce, or an edible garnish can elevate your dish from homestyle to restaurant quality. Presentation is the first impression, so make it count!

Following the techniques and tips from the pros in Bar & Grill’s kitchen is sure to make you a better home cook. Experiment with premium ingredients, practice balancing flavors, focus on attractive presentation, and your cooking skills will reach new heights. Your dinner guests will surely be impressed!

Elevate Your Culinary Game

To elevate your home cooking, start by investing in high-quality ingredients. Fresh, seasonal produce and artisanal ingredients will make a world of difference in flavor and texture. Shop at local farmers’ markets or specialty stores for the best options.

Learn proper cooking techniques

Things like properly searing meat, making pan sauces, and using herbs to garnish can take a dish from good to restaurant quality. Study cooking shows or take a class to master techniques.
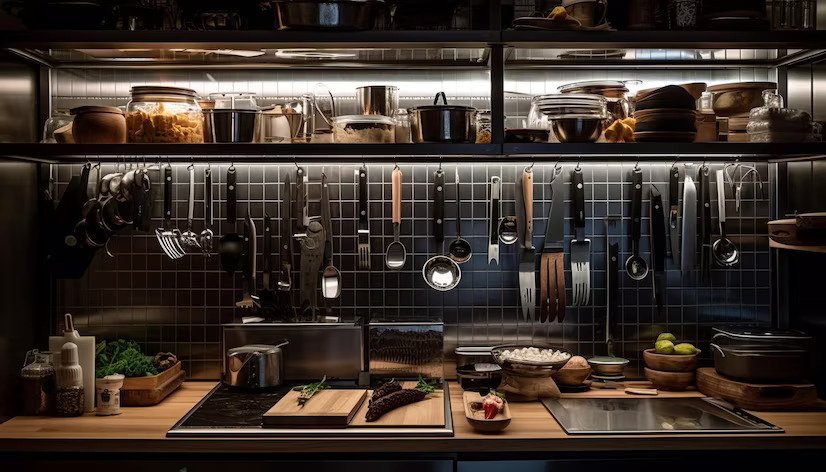
Get the right tools

A good chef’s knife, kitchen shears, immersion blender, and other gadgets designed for home cooks will make cooking more enjoyable and help you achieve professional results.

Experiment with different flavors and cuisines

Try making dishes from various culinary traditions to expand your repertoire. Combining flavors from different cultures in one dish, known as fusion cooking, is a great way to be creative in the kitchen.

Pay attention to the presentation

How a dish looks is just as important as how it tastes. Use garnishes, interesting plateware, and thoughtful plating to make your home cooking look polished and appealing.

Practice

The only way to really improve your cooking skills is to do it often. Try cooking the same dish over and over again. Check out the cooking and serving tips. Over time, the more you work at it, the better your skills will be.

High-quality products, cooking methods, proper equipment, attention to detail, and consistency are the keys to professionalism. Your friends and family will be amazed at your power!

Conclusion

That’s all, friends. The secret behind the delicious food at HMD Bar and Grill is no longer a secret. With expert advice, you can take your home cooking to new heights. Be creative, try new flavors, and don’t be afraid to venture out into the kitchen. Invite your friends to try it. You might make a good home cook! Practice, explore, and enjoy your culinary skills.

Read Also:

Barsha Bhattacharya is a senior content writing executive. As a marketing enthusiast and professional for the past 4 years, writing is new to Barsha. And she is loving every bit of it. Her niches are marketing, lifestyle, wellness, travel and entertainment. Apart from writing, Barsha loves to travel, binge-watch, research conspiracy theories, Instagram and overthink.

View all posts

Leave a Reply

Your email address will not be published. Required fields are marked *

Related

Glace Fruit

How to Glace Fruit, and Why You Need to Order It Instead

Glacing is a process where you preserve fruit in sugar syrup. The process helps in making the fruits sweeter and allowing them to last long. Usually, you can find glace fruits in cakes, bread and other types of pastries. The most common fruits are pears, cherries, and plums. They already taste great as whole fruits, but the flavours come to life, even more, when you choose the glazed version. If you are running a pastry business, you might be familiar with glace fruits as you use them often. You can choose to glace the fruits if you want to use homemade glace fruits for your business. To glace them, you need to have a pound of fruit that you want, four and a half cups of white sugar and a half cup of corn syrup. It is an excellent idea to glace them at once to avoid going through the entire process several times. You can peel the fruits or slice them into quarters depending on the type of fruit that you are glacing. You will then place the sliced or peeled fruits at the bottom of the saucepan. Add water, and allow it to simmer until it becomes tender. Take the fruit out of the saucepan and place it on a shallow dish. Remove the water from the pan except for about a cup. Add a half cup each of the sugar and corn syrup into the water. Turn the heat on until the sugar starts to dissolve. Allow it to boil and place the mixture over the fruit. Let it stay there overnight. On the following day, take the syrup out and place it in a pan. Add another half cup of sugar and allow it to dissolve in heat. When the mixture boils, start putting in the fruits again. After a while, take everything out and transfer it to a container where you can leave it for the next five days. Repeat the process, and keep the fruits there for the next two days. After another repetition, the syrup will start looking like honey. Return the fruits to the mixture and let them soak there for about ten days to 3 weeks. It is up to you to decide how long you will allow the fruits to soak in the mixture. After that period, take the fruits out from the syrup and arrange them on a wire cooling rack. Let the fruits dry in a warm place or put them inside a dehydrator. Once you can no longer feel a sticky surface, you can take the fruits and place them in a jar. If you want to eat the fruits, you can rehydrate them or put them directly on cakes and pastries. You don’t need to go through this process: It might seem like a long process to glace fruit. Aside from the effort, you put into it, you also need to wait for quite some time before you can finally use the fruits. If you are running a pastry business, you already have a lot on your plate, and you don't want to waste more time to glace the fruits. If you don't want to wait, you can buy them online. You can find stores that sell glace fruits in bulk. You can get them at a low price too. As long as you don't see chemicals or preservatives added, it is okay to use these glace fruits. Read Also: Stay Away From These Foods To Remain Healthy The Top 10 Best Foods To Eat In Early Pregnancy

READ MOREDetails
How to harvest potato

How to Harvest Potatoes: A Complete Guide from Planting to Storage 

If there is something that I have learned in life, it is about gardening. Well, almost everything if not all. And if there is one thing that took me some time to master, it was knowing how to harvest potatoes at home!  Potatoes are one of the most versatile and popular vegetables in the world. They can be cooked in many different ways, such as boiled, baked, fried, mashed, or roasted. Moreover, they are also rich in carbohydrates, fiber, vitamin C, potassium, and antioxidants. But how do you grow and harvest your own potatoes at home? You see, potatoes are not like cilantro or other plants. These are tubers.  In this article, I will show you everything you need to know about how to harvest potatoes, from planting to storage. So, if that is something that you are interested in knowing, then I have you covered! Keep on reading this blog till the end to learn more...  How to Plant Potato Seeds or Tubers?  The first step in how to harvest potatoes is to plant them. You can start with either potato seeds or tubers. Potato seeds are small, round, and black, and they are usually sold in packets. Potato tubers are the actual potatoes that you eat, and they have eyes or buds that can sprout new plants. You can buy certified seed potatoes from a nursery or garden center, or use organic potatoes from the grocery store.  Here are some if the steps that you must take to plant them:  Planting Potato Seeds  To plant potato seeds, you need to sow them indoors in pots or trays filled with moist potting soil. Place them in a sunny spot and keep the soil moist but not soggy. The seeds will germinate in about two weeks and produce small green shoots. When the shoots are about 3 inches tall, you can transplant them outdoors in your garden or in containers.  Planting Potato Tubers  To plant potato tubers, you need to cut them into pieces, each with at least one eye. You can do this a few days before planting to let the cut surfaces heal and prevent rotting. Alternatively, you can plant whole small potatoes with several eyes. To prepare the soil, you need to loosen it and add some organic matter, such as compost or manure.   You also need to make sure the soil is well-drained and slightly acidic, with a pH of 5.0 to 6.0. You can use a soil test kit to check the pH level and adjust it with lime or sulfur if needed.  Planting Potato Pieces  To plant the potato pieces, you need to dig a trench about 4 inches deep and 12 inches wide. Place the pieces about 12 inches apart, with the eyes facing up. Cover them with 3 inches of soil and water well. As the plants grow, you need to hill up the soil around them to cover the lower stems and prevent the tubers from being exposed to sunlight, which can turn them green and bitter. You can also mulch the soil with straw, leaves, or grass clippings to retain moisture and suppress weeds.  How to Care for Your Potato Plants?  The second step in how to harvest potatoes is to care for your potato plants. You need to water them regularly, especially during dry spells, to keep the soil moist but not waterlogged. You also need to fertilize them every two weeks with a balanced organic fertilizer, such as fish emulsion or seaweed extract. Also, you can add some wood ash or bone meal to provide extra potassium and phosphorus, which are essential for tuber formation.  You also need to protect your potato plants from pests and diseases, which can reduce your yield and quality. Some of the common potato pests are:  Colorado potato beetles, which are yellow and black striped insects that feed on the leaves and can defoliate the plants. You can handpick them and drop them in a bucket of soapy water, or use an organic insecticide, such as neem oil or pyrethrin.  Potato leafhoppers, which are small, green, winged insects that suck the sap from the leaves and cause them to curl and yellow. You can spray them with a strong jet of water, or use an organic insecticide, such as garlic or hot pepper spray.  Wireworms, which are thin, brown, worm-like larvae that bore into the tubers and cause holes and tunnels. You can trap them with pieces of carrot or potato buried in the soil, or use beneficial nematodes, which are microscopic worms that parasitize and kill the wireworms.  Common Potato Diseases  One of the most common reasons why a potato cannot grow or survive is the diseases. If you were wondering what some of these can be and how to deal with them, I have you covered!  Some of the common potato diseases are:  Late Blight: It is a fungal disease that causes brown spots on the leaves and stems, and black or brown lesions on the tubers. It can spread rapidly and destroy the entire crop. You can prevent it by planting resistant varieties, avoiding overhead watering, and removing any infected plants and tubers. You can also use a fungicide, such as copper or sulfur, as a preventive measure.  Scab: This is a bacterial disease that causes rough, corky patches on the tubers. It does not affect the taste or edibility of the potatoes, but it reduces their appearance and storage quality. You can prevent it by planting resistant varieties, maintaining a slightly acidic soil pH, and avoiding excessive nitrogen fertilization.  Potato Virus Y: Lastly, this is a viral disease that causes mosaic patterns, mottling, or yellowing on the leaves, and misshapen or knobby tubers. It can reduce the yield and quality of the potatoes, and it can be transmitted by aphids or infected seed potatoes. You can prevent it by planting certified virus-free seed potatoes, controlling aphids, and removing any infected plants and tubers.  How to Determine When Your Potatoes Are Ready to Harvest?  The third step in how to harvest potatoes is to determine when they are ready to harvest. This depends on the type and variety of potatoes you planted, and the size and maturity you want. There are two main types of potatoes: early and late. Early potatoes are ready to harvest in about 10 to 12 weeks (about 3 months) after planting, and they produce small to medium-sized tubers that are tender and thin-skinned. They are best for boiling, steaming, or roasting.  Late potatoes are ready to harvest in about 15 to 20 weeks (about 4 and a half months) after planting, and they produce large, starchy tubers that are firm and thick-skinned. They are best for baking, mashing, or frying.  Early Harvesting  To harvest early potatoes, you can start digging them up when the plants begin to flower, or when the lower leaves start to yellow. You can use a garden fork or a spade to gently lift the plants and tubers from the soil, or you can use your hands to feel for the tubers under the soil. You can harvest as many or as few potatoes as you need, and leave the rest in the ground until you are ready to use them. You can also harvest some of the young, tender leaves and stems, which are edible and nutritious.  Late Harvesting  To harvest late potatoes, you need to wait until the plants have died back completely, or until the first frost. This allows the tubers to develop a thicker skin, which helps them store better. You can use a garden fork or a spade to dig up the entire row of plants and tubers, or you can use a potato digger, which is a special tool that lifts and separates the tubers from the soil. You need to be careful not to damage or bruise the tubers, as this can cause rotting or spoilage.  How to Dig Up, Cure, and Store Your Potatoes?  The final step in how to harvest potatoes is to dig up, cure, and store your potatoes. This is important to preserve the quality and shelf life of your potatoes, and to prevent them from sprouting, rotting, or shrinking. Here are the steps to follow:  Digging Up  After digging up your potatoes, you need to brush off any excess soil and remove any damaged, diseased, or green tubers. Do not wash your potatoes, as this can remove the protective skin and invite bacteria and fungi. You can wash them just before cooking or eating them.  Curing  You need to cure your potatoes for about two weeks in a cool, dark, and well-ventilated place, such as a basement, garage, or shed. This allows the skin to harden and heal any minor cuts or bruises and enhances the flavor and texture of the potatoes. The ideal temperature for curing is between 50°F and 60°F, and the ideal humidity is between 80% and 90%. You can spread your potatoes in a single layer on a newspaper, cardboard, or wooden crate, and avoid exposing them to light, which can turn them green and bitter.  Storing  You need to store your potatoes in a cool, dark, and dry place, such as a cellar, pantry, or closet. The ideal temperature for storage is between 40°F and 50°F, and the ideal humidity is between 65% and 70%. You can store your potatoes in paper bags, cardboard boxes, mesh bags, or wooden crates, and check them regularly for any signs of sprouting, rotting, or shriveling. You can also store your potatoes in a root cellar, which is an underground or partially underground structure that maintains a constant temperature and humidity. Additionally, you can also store your potatoes in a clamp, which is a mound of straw, hay, or leaves covered with soil, that insulates and protects the potatoes from frost and rodents.  Wrapping It Up!  If you want to know about how to harvest potatoes, I hope that this blog has been of help to you. However, if there are any other queries related to the same, please feel free to let me know. All that you need to do is scroll down till you reach the bottom of the page. Then leave your comments and suggestions in the box below. And I will be there to answer them all for you! Read Also: How to Harvest Lettuce: A Step-by-Step Guide for Fresh and Crispy Salads Everything You Need To Know About Harvesting Basil!

READ MOREDetails
Red Wine

The Best Red Wine that Suits Your Taste

For a casual wine drinker, wine is usually categorized as white wine, rose wine, blush wine and of course red wine. The supermarket sells many choices for each; we have Vin de table or the cheap but classic wine ranging to the most expensive amounting to thousands of dollars per bottle. Truth be told, most people read the labels but can’t understand it. We know that it is red wine or white wine but we have a little amount of knowledge about the types of wine grapes they use, and that is the most important thing. This is because the wine grape used in manufacturing, predicts and give off the taste, texture, and smell of the wine itself. Well yes, it can be generalized that white wine is mostly this, and red wine is mainly that, and the list goes on. But, if we try to understand and know the wine grape used in production then, it will be easier for us to choose the perfect wine from shelf to shelf. So read on and let’s have a glimpse of which type of wine will mostly tickle your taste buds. The Best Red Wine that Suits Your Taste: Cabernet Sauvignon: If you’re familiar with Currant and black cherries, then Cabernet Sauvignon radically tastes like this. Sometimes, upon drinking you can also taste that green olive and bell pepper feel that adds up to the wholeness of the wine. This is the trademark of Napa Valley and is also considered the primary component of Bordeaux. This wine is grown all over the globe, but only a few can achieve to produce the best Cabernet Sauvignon wine due to many factors like climate, soil component, and of course processing. Thus, each continent has its style of this wine, some tend to have that darker shade, and some have that strong aroma. Cabernet Franc: If you’re more into violets and blueberry, this is the type of red wine grape for you. This is considered the cousin of Cabernet Sauvignon and this is one of the significant classifications of the Bordeaux wine. Compared to its cousin, this gives off that earthy taste, and you can tell it from its aroma, emitting a scent of freshly roasted coffee. Of course, this wine grape is also grown all over the globe. It only varies in the number of tannin contents because of the different climate and topographical conditions during its growth. Also, since additives are combined with this red wine, it can result in a minty, and pungent taste. Pinot Noir: If the flavor of cola, root beer, plum, pale cherry, tomato leaf, and blackberry combined excites your palate, then this is what you are looking for. Pinot Noir is also the significant components of champagne and other sparkly wine during production. For connoisseurs, this red wine is a delicacy. And since it is a delicacy, Pinot Noir requires demanding supervision from winemakers since this type is fragile and prone to weedy flavors if not taken care of properly. It is usually grown in single-vineyard wine in Oregon and California. Merlot: If you like the taste of watermelons, strawberry or plum, then this is your best choice. Merlot is like the middleman of all these types as it doesn’t have that strong feature in its taste, and aroma. It is the purest red wine and the epitome of “Vin de table.” Merlot is best produced in Washington and most preferred red wine during the 1990s,  but due to oversupply, over pricing, production of poor and bland quality, it lost its reputation. Malbec: If you’re into sour and spicy impression, then Malbec is for you. This type of red wine isn’t that known in the globe, but it has been the pride and glory of Argentina. Malbec is usually aged in oak barrels that add to its flavor over time. Gamay: If you prefer a fruity, somewhat sweet taste, then look for this wine grape. It usually tastes like raspberry, fresh cherries, and strawberry. Gamay gives off that slight fizz and has the aroma of bananas. Gamay is best consumed when still young if you want to experience that bright, and tangy flavor. Sangiovese: If you are fond of the scent and taste of tobacco leaf, and pie cherry, the search is over since Sangiovese is for you. This type is the main grape in Tuscany and has also been the main component of other well-known wines. Sangiovese is quite acidic compared, but lighter in color when compared to other wine grapes. In Italy, Sangiovese is usually mixed with Cabernet Sauvignon to level off with the later, thus creating the “Super Tuscany.” Besides Italy, Sangiovese is best produced in Walla Walla Valley in Washington, but elsewhere this type is undistinguished and considered dull. Not all supermarkets and local stores are retailers of a vast variety of red wine, so not all stores can satisfy those parched palates. To achieve the greatest experience with red wine, there are online wine merchants who can offer you tons of choices. Sokolin Red Wine is there to help you browse through tons of options coming from all over the globe. When it comes to wine, you can never settle for whatever is in stock. Read Also: Things To Do To Enjoy Yourself In Melbourne The Advantages And Disadvantages Of Non-Alcoholic Spirits

READ MOREDetails